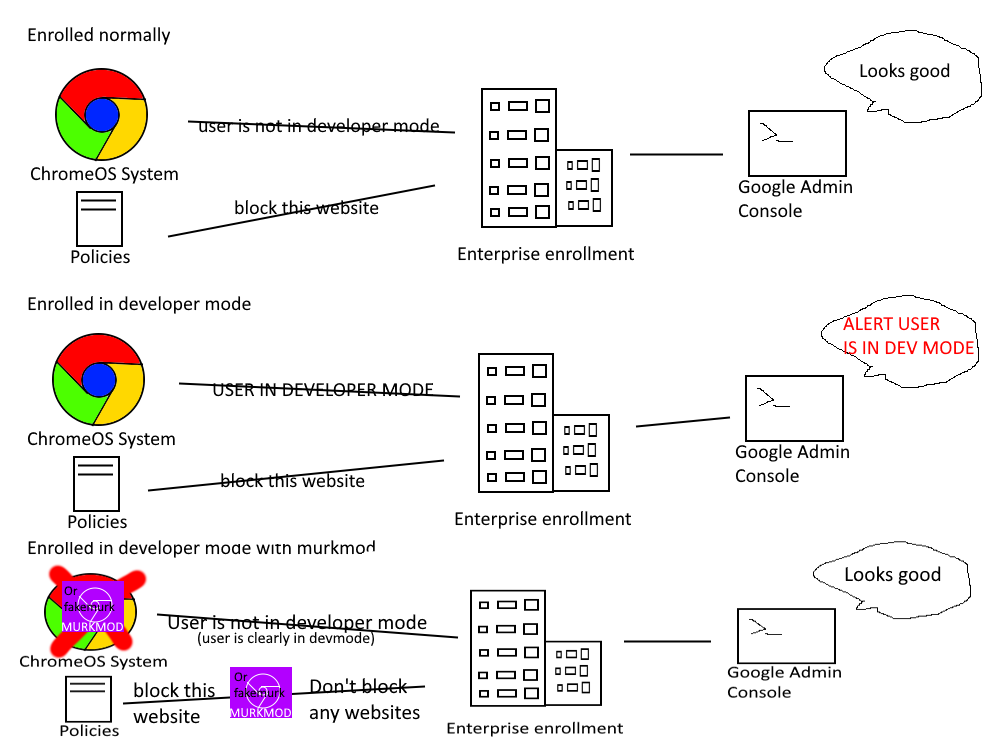
Installing Fakemurk

Prerequisites
- A 8gb or larger USB drive for recovery
Section I - Enabling Developer Mode
In order to install fakemurk, we need to be in developer mode. Thankfully, it's no longer blocked on your device, so it'll only take 6 minutes (give or take a bit).
Press and hold Esc+Refresh+Power for one second, then release it. At the recovery screen, press Ctrl+D and then Enter. If at any point in the following process, you see a scary "OS Verification is Off" screen, press Ctrl+D. Upon rebooting, you'll have to wait through a long loading screen (you can see a countdown in the top left) and your device will reboot. Be sure to be quick when pressing Ctrl+D at the following screen, as after 15 seconds a loud noise will play.
Now, set up your Chromebook normally again and sign in with your personal account. Once signed in, update your Chromebook as far as it will go and reboot your device.
Section II - Flashing a Recovery Image
Just in case something messes up (which is semi-common with fakemurk), we'll need a recovery image. Find a recovery image for v105 (make sure the board is correct) on one of the following sites:
Once again, the instructions per-platform to flash the image are as follows:
On *nix
On a ChromeOS device in developer mode, you can also use the following instructions to flash the drive. Otherwise, you can download the Chromebook Recovery Utility from the Chrome Webstore and use that to flash the drive. Just click on the top right button in the window and select "Use Local File", then select your .bin file. This probably won't work on an enrolled device, but if the extension is unblocked, you can do it entirely on that Chromebook.
Good choice of operating system, by the way. Most distros will come with the dd utility built-in. If yours doesn't, then choose a different distro or find a way to flash the recovery image. Run the following command, making sure that you have the correct /dev path to your USB drive and the correct path to your recovery image:
dd if=/path/to/recovery-image.bin of=/dev/sdX status=progress
In a few minutes, you should be done, and the command should exit with a 0 exit code.
On Windows
Download Rufus and run the executable. Select the .bin file you just downloaded and select your USB drive. Click on flash and follow the prompts. If asked, select "Flash in DD mode".
On MacOS
Download Etcher and run the excutable. Select the .bin file and your USB drive. Click on flash and follow the prompts.
Set this recovery USB drive aside for later. You're probably gonna need it.
Section II - Double and Triple-Checking
Make sure you've done everything on this handy little checklist:
- Enabled developer mode
- Updated to v105
- Created a v105 recovery drive
Last chance: MAKE SURE YOUR DEVICE IS ON V105!
Section III - Fakemurking
Once logged in, press Ctrl+Alt+T to open crosh again. At the prompt, run the following commands:
shell
sudo -i
bash <(curl -SLk https://github.com/MercuryWorkshop/fakemurk/releases/latest/download/fakemurk.sh)
Section IV - Recovery (if needed)
If you fakemurked and saw an error of any kind, then you'll need to recover and retry. Press Esc+Refresh+Power for a second, and plug in your recovery drive. Wait for recovery to finish, then run the above steps again.
Section V - Fixing Enrollment Certificate Errors
Once your device reboots (make sure to press Ctrl+D at boot) there's a good chance that you'll be stuck at an enrollment screen for a while, then it'll complain about a missing certificate. Don't worry, this is normal!
Just press Refresh+Power. Don't press Ctrl+D at this point! Instead, press Space and Enter to disable developer mode, then, once the screen turns black, immediately press Refresh+Power.
This will result in a "ChromeOS is missing or damaged" screen. This is also normal. Just press Esc+Refresh+Power and enable developer mode again (Ctrl+D then Enter), then press Ctrl+D at boot.
After a short(er) wait, you should be able to enroll.
Section VI - Next Steps
It is a good idea to check your kiosk apps and see if they work
Users have reported that murkmod is buggy and may break your device. Proceed with caution.
Now that you fakemurked your deivce, you can now install murkmod, which allows for plugins to be installed to a fakemurked device. Just continue to Installing Murkmod
Or, you can skip murkmod and continue to Finalizing Setup